Start your school
Create your school on Schoolog in about ten minutes: details, classes, your account, and agreeing to the terms.
Updated
Starting a school on Schoolog takes about ten minutes. Only the proprietor, or someone acting for them, should do this. You can change everything later.
Before you start
Have these to hand:
- The school's name, type (for example, nursery to secondary) and state.
- The school's phone number.
- Which stages you teach and how many classes each level has.
- The admission number your next new pupil should get, if you already number your pupils.
1. Create your school
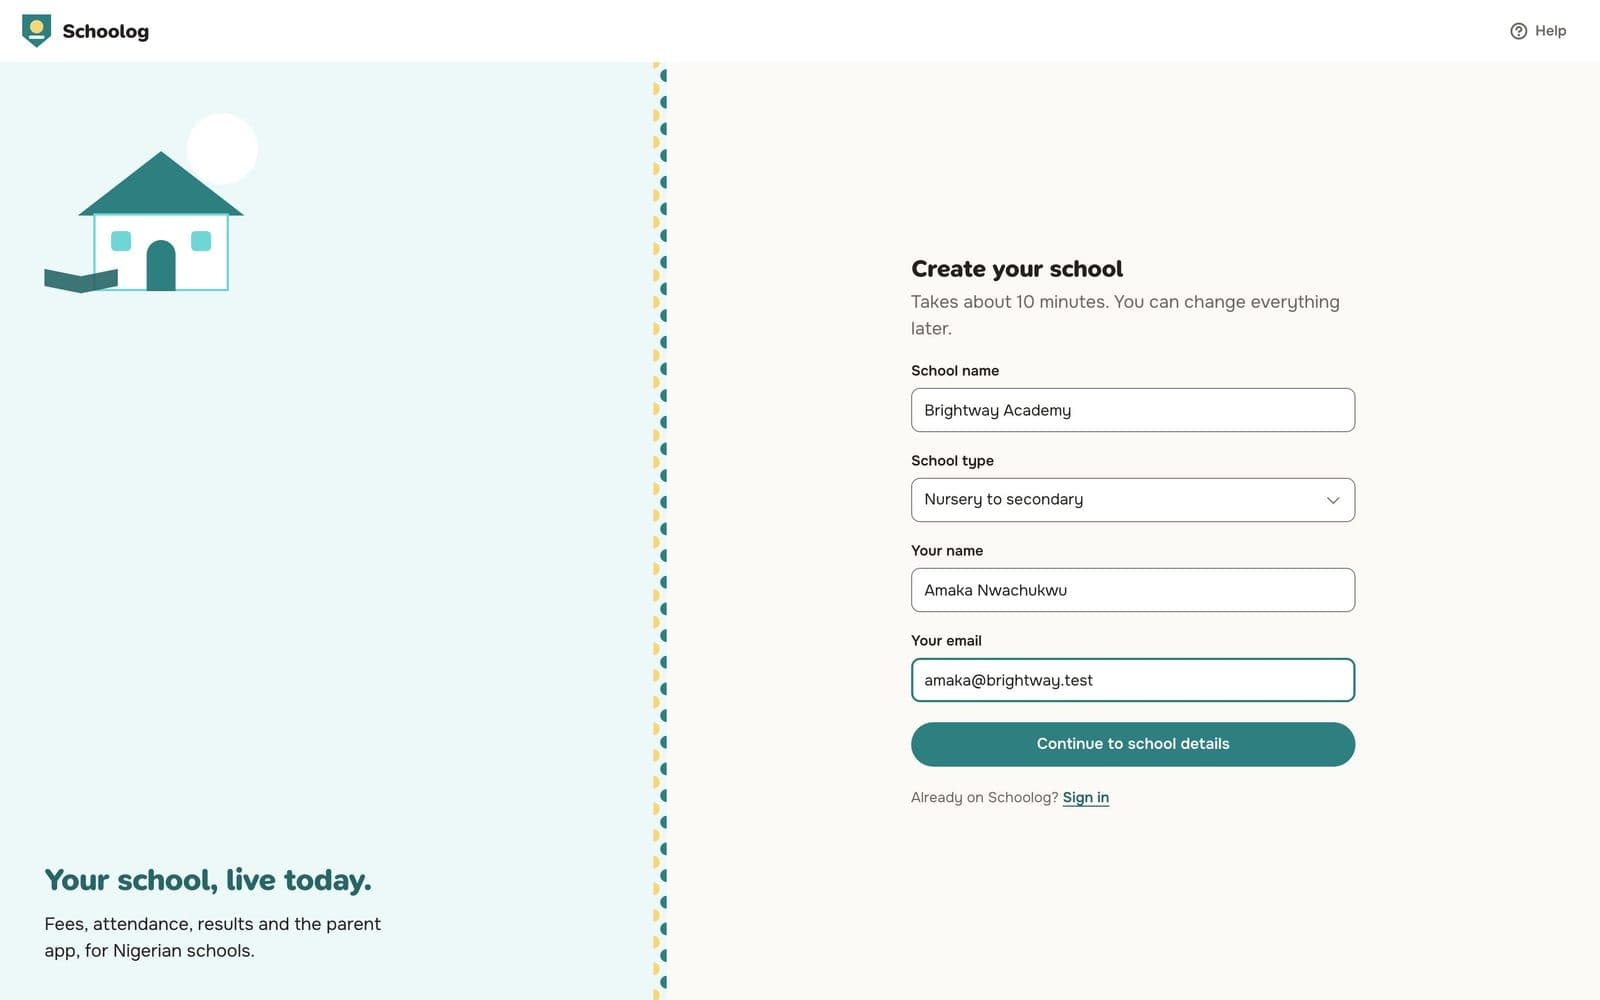
Go to the Schoolog home page and press Start your school. Type the school's name, choose the school type, then your own name and email. Press Continue to school details.
2. School details
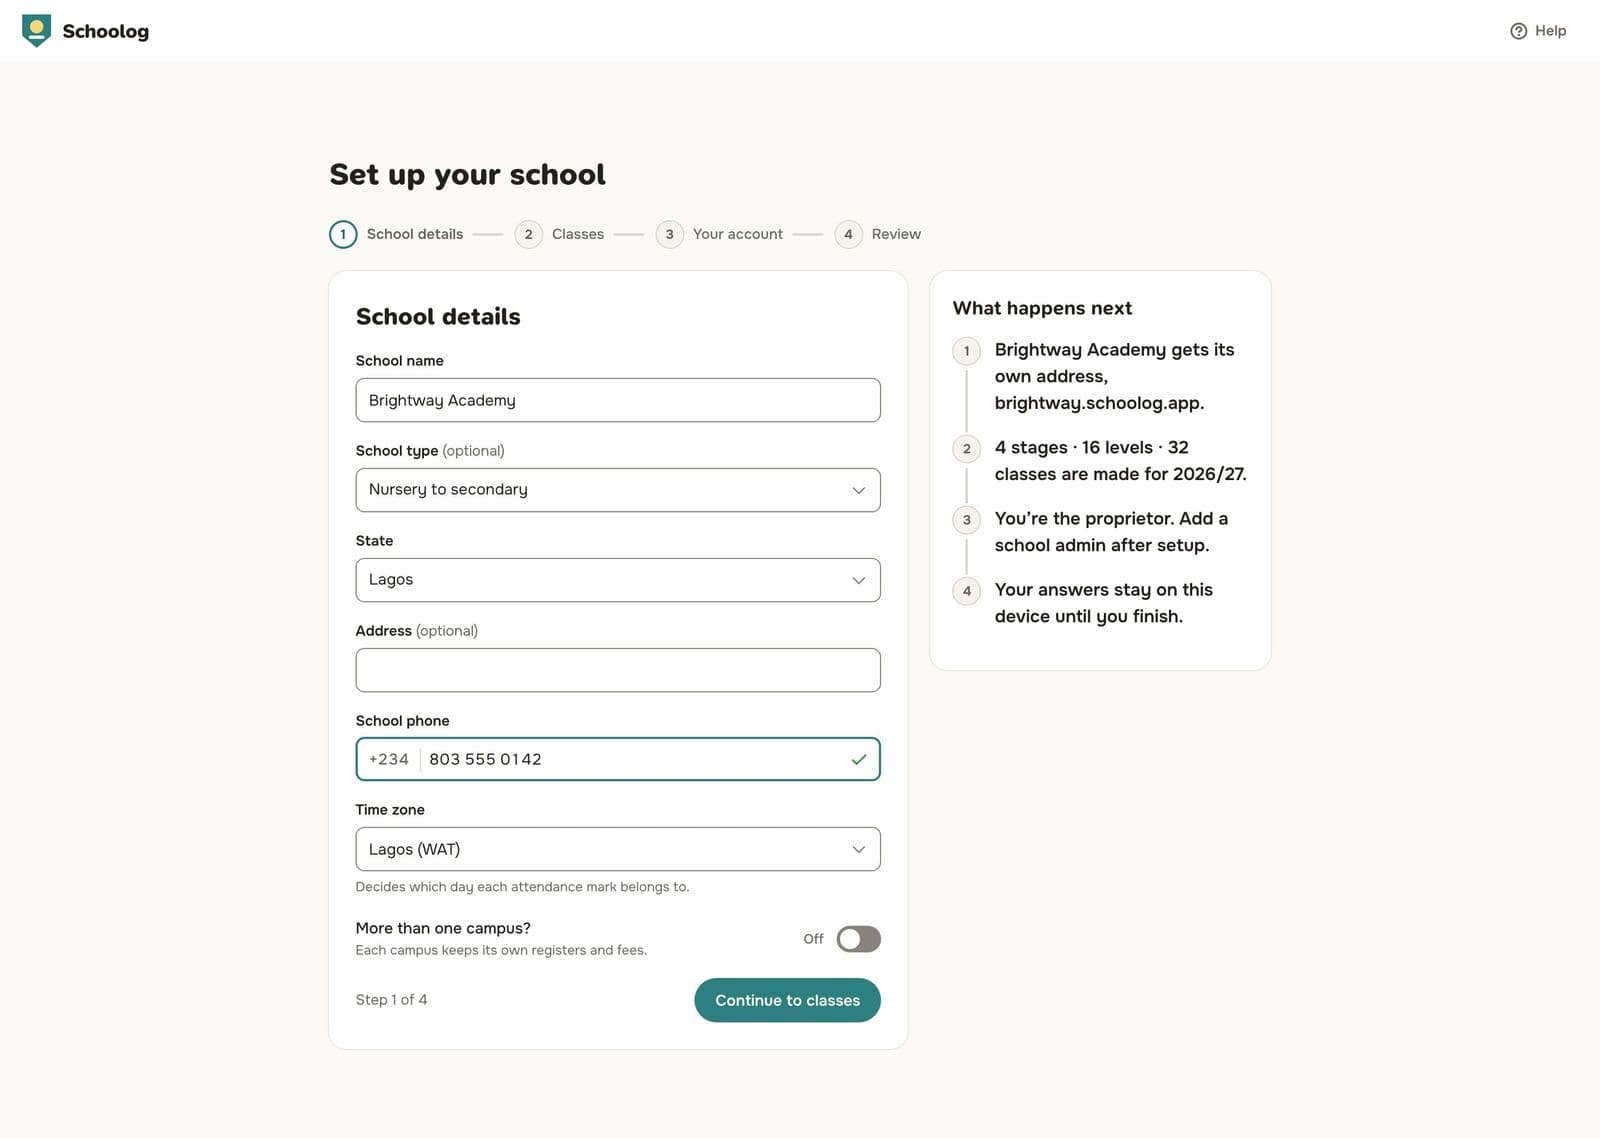
Check the name and type, choose the state, and add the address if you like. Type the school's phone number and check the time zone: it decides which day each attendance mark belongs to.
If the school has more than one campus, switch on More than one campus. Each campus keeps its own registers and fees.
3. Classes
Choose the curriculum (Nigerian 9-3-4, British or American). For each stage, say how many classes each level has and roughly how many pupils are in each class. Turn off any stage you don't teach. Check the session name and the first admission number.
4. Your account
Check your name and email, add your phone number if you like, and choose a password of at least 8 characters. You sign in with this email. You are the school's proprietor; you can add a school admin after setup.
5. Review and agree
Check everything on the review page. Press Edit beside any part to change it. Choose your school's web address: parents and staff will open it to sign in.
Tick I agree to Schoolog's terms and privacy notice, for me and for the school. The terms and the privacy notice open in a new tab, so you won't lose what you've typed. Then press Create with your school's name.
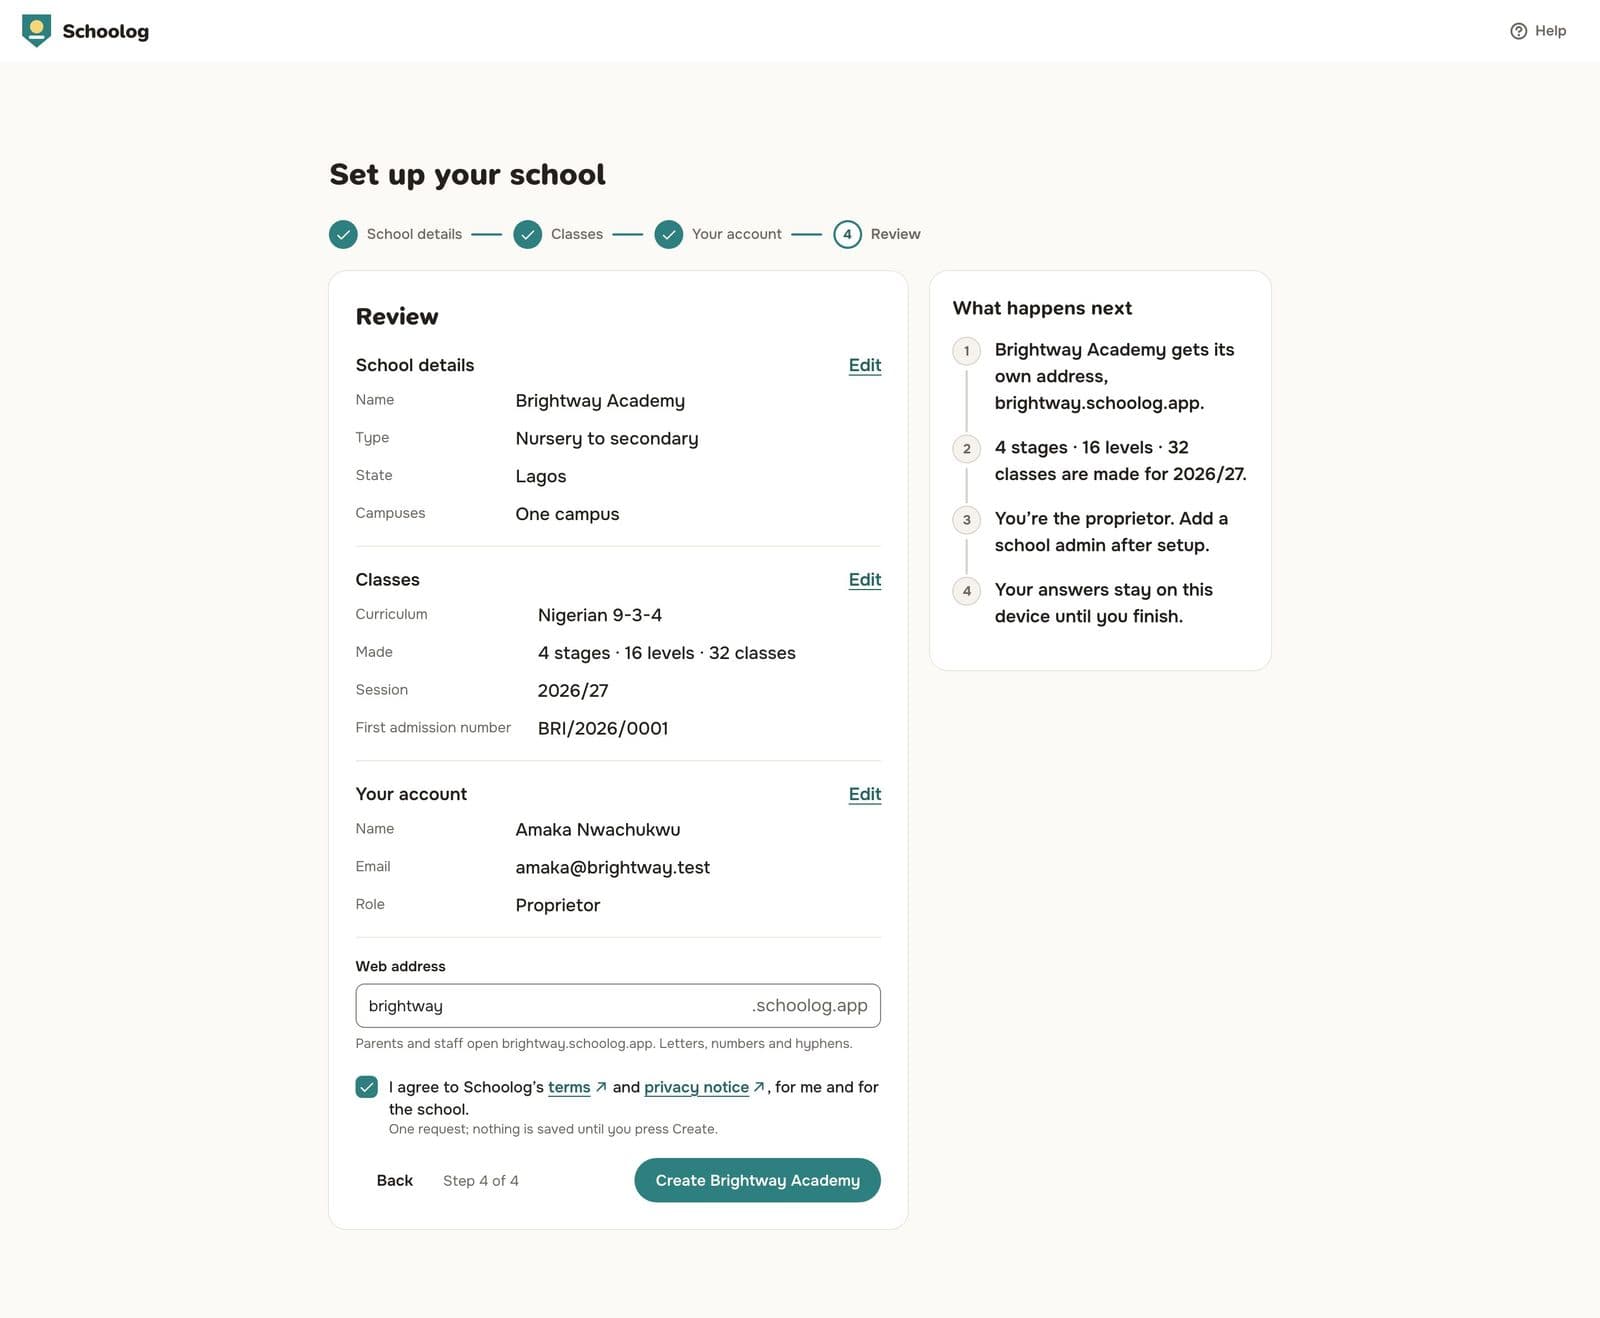
Nothing is saved until you press Create. Until then, your answers stay on this device, so you can close the page and come back.
If you see The terms have changed, reload the page, read the new version and tick the box again.
What happens next
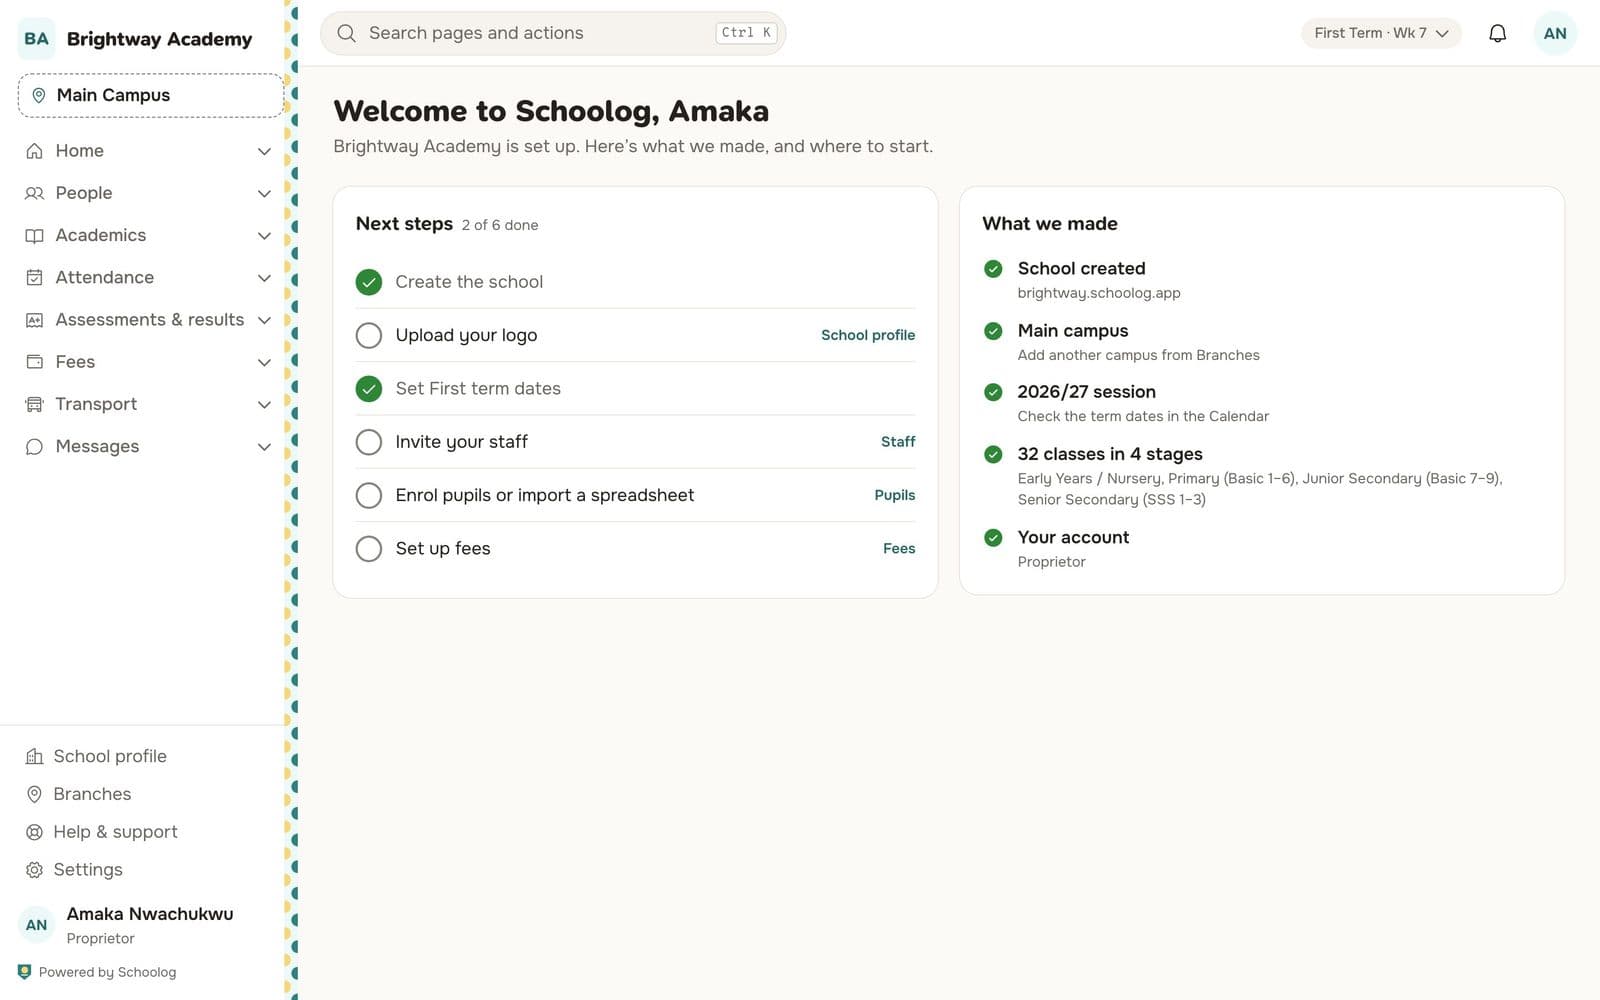
You land on your school's welcome page with a list of next steps:
- Upload your logo.
- Check the term dates.
- Invite your staff.
- Enrol pupils or import a spreadsheet.
- Set up fees.